How to Try New Media – Silicone Casting pt 2
- At May 22, 2013
- By sunhawk
- In How To - Guides
 0
0
Based on my discussions with the salesperson at Sculpture Supply Canada, I purchased a few supplies and tools:
- Silicone + catalyst (needed to turn the silicone from a viscous liquid into a solid)
- Mold release (necessary to spray inside the mold so that my cuffs/bracelets would pop out later)
- Pigments to colour the silicone (both regular colours and UV-reactant colours)
- A DVD that went over the most common types of casting, including silicone casting
There were other tools that I needed for this project, but a number of them were more common household items that could be purchased at a local dollar store or hardware store for a much lower price than most art stores. And these tools and materials would come later, as there was a few steps that came up before I got to the casting stage.
4. Organizing the Different Steps of Your Project To Create Good Workflow
So before I could do any casting, I needed a mold and to make a mold, I needed a model of the artwork I wanted to cast. Two things I had to keep in mind while I set out to make my model:
- I needed to use materials that would not reactive negatively with the silicone I was using to make the mold (ie create a chemical reaction that would warp the mold, or use a material that would somehow inhibit the curing of the mold ie it would stay liquid and never become a solid)
- I needed to use a material that could capture the level of detail I wanted for the cuff/bracelets.
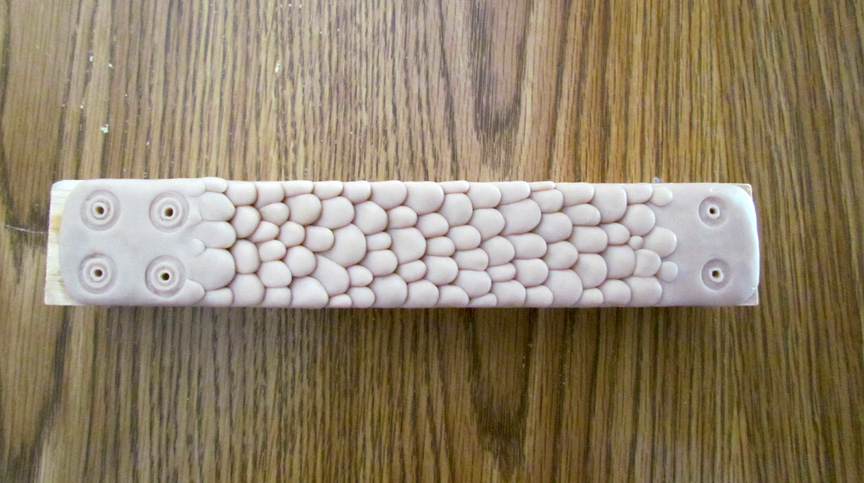
Seeing as I had used polymer clay to make my dragonscale books in the past, I used the same polymer clay on a piece of wood to create my model of the dragonscale bracelet, including holes in the two ends of the cuff where I intended to attach the metal snaps. I put the clay on the wood block so that when I poured the mold silicone around it, the bracelet would sit lower down in the mold with empty space above, so that I was less likely to overflow the mold cavity and get liquid silicone everywhere.
These are the sort of precautions I’ve learned to take based on countless other times I didn’t do such a thing and accidentally got something liquid (paint, glue, etc) all over my workspace – experience is really the best teacher when it comes to anticipating these sorts of mishaps, but don’t worry about stuff like that too much – it happens and you learn from it.
Once I had baked my model to make it permanent and painted the surface with glossy acrylic to seal it, I also took the time to get out my rotary tool and drill into the wood wherever I had made holes in the polymer clay model for the snaps. The reason I did this was to give the silicone extra space to fill, so that there would be no risk of ending up with incomplete holes in case I poured a little extra silicone into the mold – the extra long posts would ensure the hole always went all the way through.
My next step was to set up a container so that I could make a mold of my model. Based on the instructions and tips I had been given both by the salesperson at SSC and from the DVD I watched about casting, I made my way to the dollar store for a few supplies. Now what often happens when I try a new media is that I don’t know exactly what I might need (usually because there are often a few different tutorials I will watch/read that use slightly different methods to get the same result) so I often buy a few extras on more of a “Just In Case” basis rather than strictly following a set list.
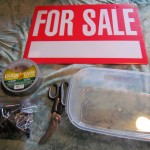
- What I thought I might need for my mold container
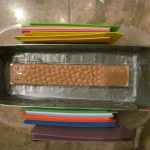
- What I actually used to make my mold container
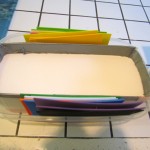
I used most of the materials I thought I would for the mold container, which I made using a tupperware big enough to fit the model, some corrugated plastic (the FOR SALE sign) to create walls even closer to the model so that the mold wouldn’t be too big or heavy, and then I needed something to go between the two sets of walls (the tupperware and the sign) so I searched through my other art supplies and ended up using little foam sheets, because they were thin and stackable and I could just keep adding them to the gap until I had enough in there to help keep the sign walls from bowing outward once I poured the heavy liquid silicone inside. I used the duct tape to leakproof the mold space, which I then reinforced by gluegun-gluing every edge of ducttape that I thought might let silicone seep under, which was probably not necessary but I sometimes like to take a few extra precautions, especially when I am using a more expensive material that I don’t want to waste.
Speaking of not wasting the silicone, my next step was to try to figure out how much silicone I would need to completely cover the model and make my mold. This was important, as the silicone required a catalyst and so I couldn’t just keep pouring silicone over it until I had enough, unless I wanted to potentially waste the excess silicone, which would turn into a solid whether it was in the mold container or not – once you add the catalyst, there’s no turning back. So I turned to Art’s silent partner in crime – Science! – to help me figure out how much silicone to use. Basically I needed to fill the mold container with a substitute for silicone that would allow me to get a rough idea how much silicone to use, something I could measure to get a more accurate idea of the volume of the empty space in the mold container. Normally I would use water, which is an excellent liquid to use as it doesn’t react or change most modeling substances, but since I had the clay on a piece of wood, I was worried the wood would get soaked and might somehow affect the silicone setting, so I decided to use salt instead.
- Ordinary table salt
- Salt in the container
After I had filled the container with salt, I carefully poured it into a measuring cup and wrote down how many cups of salt I used. Now this would not give me a perfect answer, because when mixing the silicone and its catalyst, the math uses weight rather than volume and salt has a different density than silicone, but for the purposes of giving me a rough estimate, it was fine. Having some extra silicone was unavoidable, but using the salt allowed me to limit the excess to an acceptable amount.
Part One: Pick A Project
Part Two: Organize Your Steps
Part Three: Safety First!
Part Four: Getting the Details Right
Part Five: Try Things Out and Evaluate
~Sunhawk



Get Social